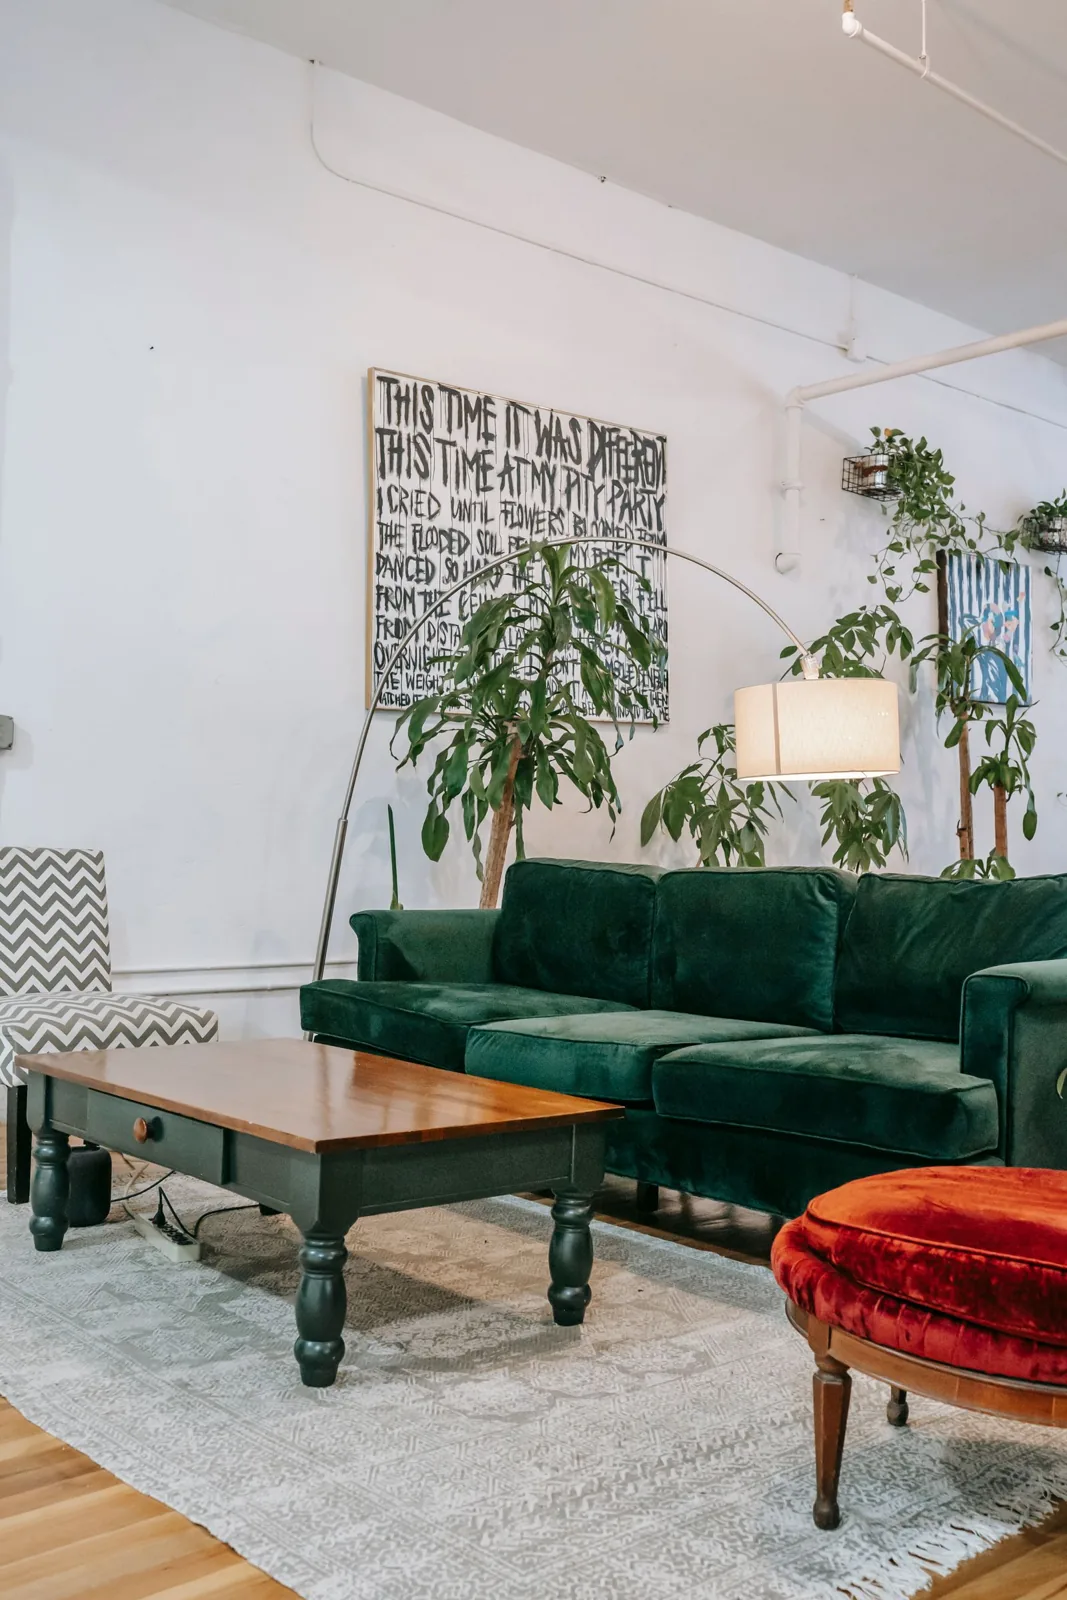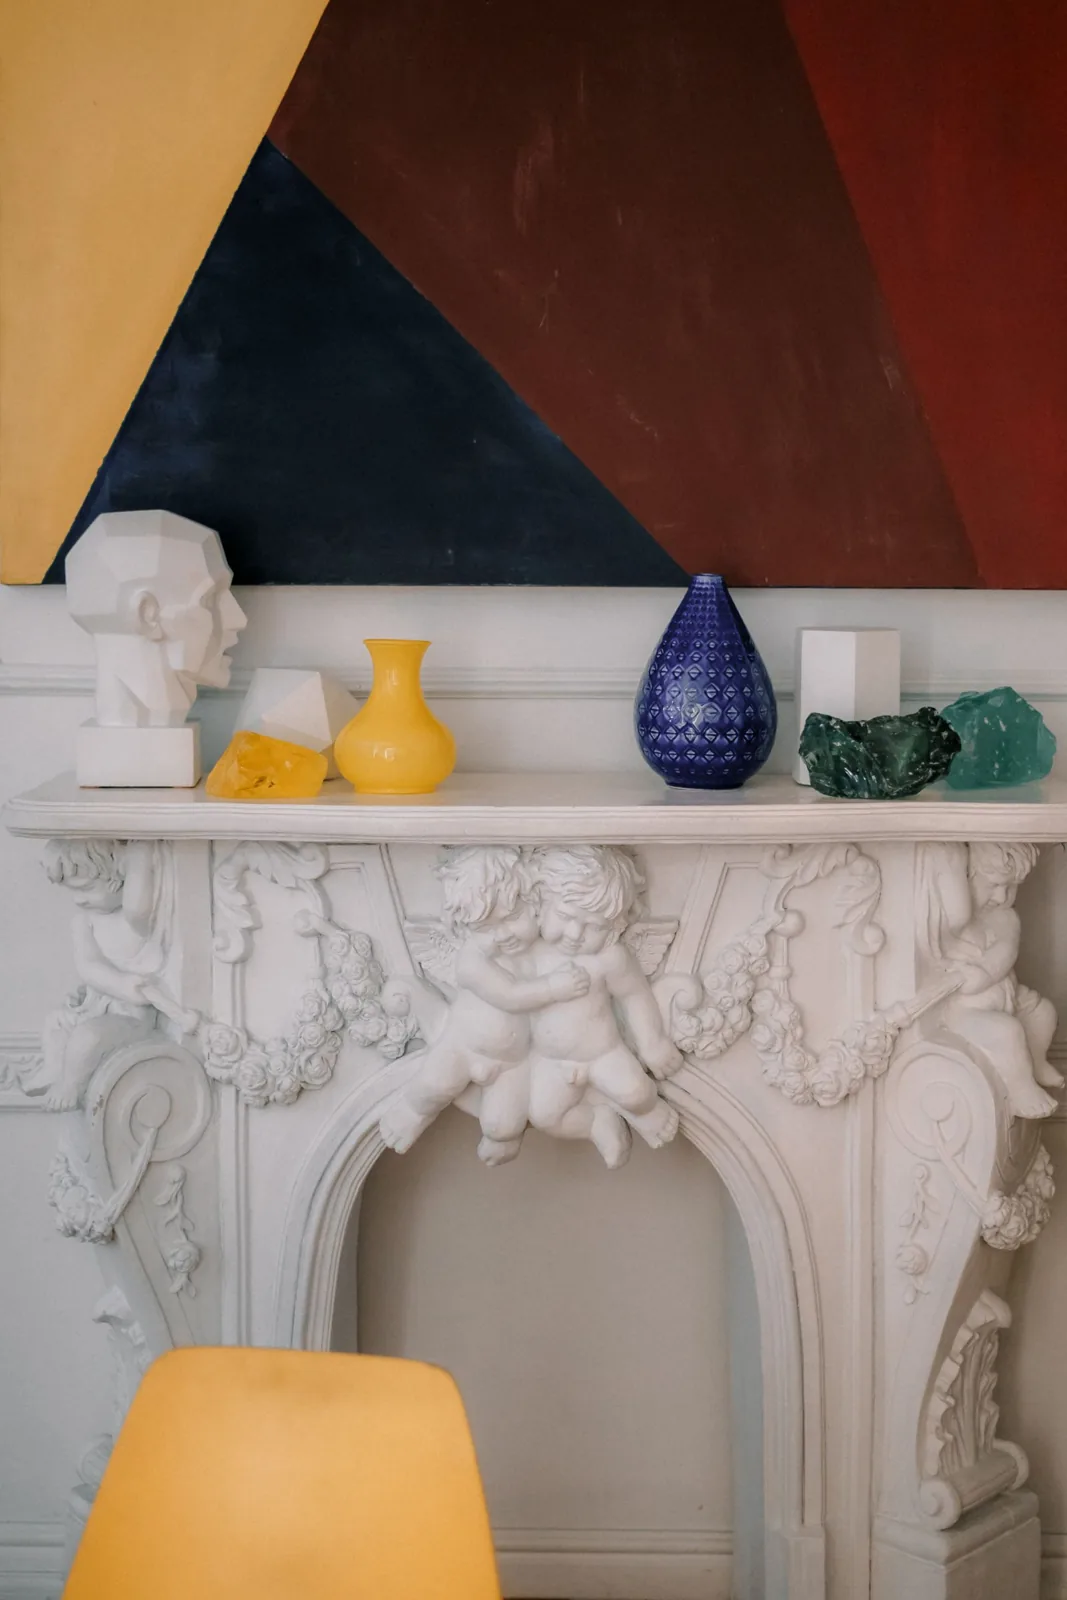
Limited wall changes do not mean every frame needs an adhesive strip. Begin with suitable display surfaces and the objects you already have. Where a fixing is considered, permission, frame construction, surface condition, weight, and the exact product instructions all belong in the decision.
Start with a specific piece and a suitable view
Choose one picture you actually want to see. Note its dimensions, construction, weight if relevant, and whether it already has a stand or other intended display method. A framed print, unframed photograph, and heavy glazed object have different requirements. Do not begin by choosing a fixing and then assuming every object can be made compatible with it.
Look at possible views from where people sit and move through the room. An existing appropriate shelf or desk may provide a useful place without changing the wall. Check that the object can stand as designed and does not interfere with the surface's other uses. The aim is a considered display, not filling every available horizontal surface with unsupported frames.
For each possible location, record the object, the intended support, the allowed method, and the instructions still needed. A frame with its own suitable stand on an appropriate shelf can have a much simpler record than a heavy wall-mounted work. Choose on that actual basis instead of assuming that all no-drill products create the same kind of display.
Use supported display only where it is intended
A frame with a suitable built-in stand can be an option on an appropriate stable surface. Follow its instructions and consider the actual surroundings, including children, pets, vibration, and the consequences of a fall. Do not improvise support by balancing a frame against a loose object or placing it on an unstable stack.
A picture ledge is another possible display form, but it is not automatically a no-change solution. The ledge itself may require installation, load checks, and property permission. IKEA's rental styling examples show display possibilities; they do not establish that every illustrated method is appropriate for your walls or artwork. Evaluate the whole support arrangement, not just the absence of a visible nail beside the picture.
Separate permission from product compatibility
Check what the property allows before attaching anything. A permitted adhesive product may still be incompatible with a particular surface or frame, and a technically compatible product may still require approval under the property's arrangements. Keep the two questions distinct. This guide does not interpret rental law or promise that a particular method protects a deposit.
If approval is needed, identify the actual proposed method and object. Retain the answer with the product information. Where a suitable fixing cannot be used, choose another display location or leave the piece stored appropriately. A picture does not need to be on the wall immediately to count as part of your home. Waiting for an appropriate solution is preferable to treating uncertainty as permission.
Read the exact adhesive product requirements
For an adhesive hanging option, use the instructions supplied with the specific product and check the intended surface, frame type, environment, weight, and number of components. Command's FAQ explains that its products have different requirements and that adding more strips does not automatically increase capacity. Do not multiply a weight rating yourself to justify a heavier object.
Surface condition matters independently of the product's advertised removal feature. The FAQ identifies unsuitable or problematic surfaces and explains that weak paint or incorrect removal can cause damage. Consequently, no universal damage-free promise is made here. Avoid copying a generic online procedure when the actual package differs. Preparation, waiting, application, and removal all need to follow that product's instructions.
Choose a location that remains suitable over time
Consider more than the picture's position on the first day. Doors may swing toward it, furniture may be moved, and someone may reach across the display to use a switch or shelf. Keep required access clear and avoid a location where a displaced object could cause a problem. A visually balanced wall is not the only measure of a successful placement.
Light, moisture, and the artwork's materials also affect location. This article does not prescribe conservation treatment for valuable or fragile works. Check appropriate material guidance or specialist advice when needed. The separate framed-print care guide focuses on those preservation considerations; this decision concerns finding an allowed, properly supported display arrangement without assuming all wall changes are interchangeable.
Keep instructions for the eventual removal
Save the hanging-product details and removal instructions where you can find them later. A temporary installation still has an end stage. If the object is moved, follow the specified method and use replacement components where required; do not assume an adhesive can be reused because it still feels sticky. Ask the manufacturer when a component or instruction is unclear.
A framed print without an approved wall fixing
For a rented room with no approved new fixing, inventory existing suitable display locations before choosing adhesive products. Compare the actual frame and the support it requires with a permitted location; an ordinary ledge is not automatically adequate. A valued original also needs a separate light and material assessment, as LOC's paper guidance explains. If an approved secure display and suitable conditions cannot both be achieved, consider a reference copy or leave the original stored appropriately. Keeping the picture visible is not a reason to improvise a mounting method or conceal an unresolved permission question.