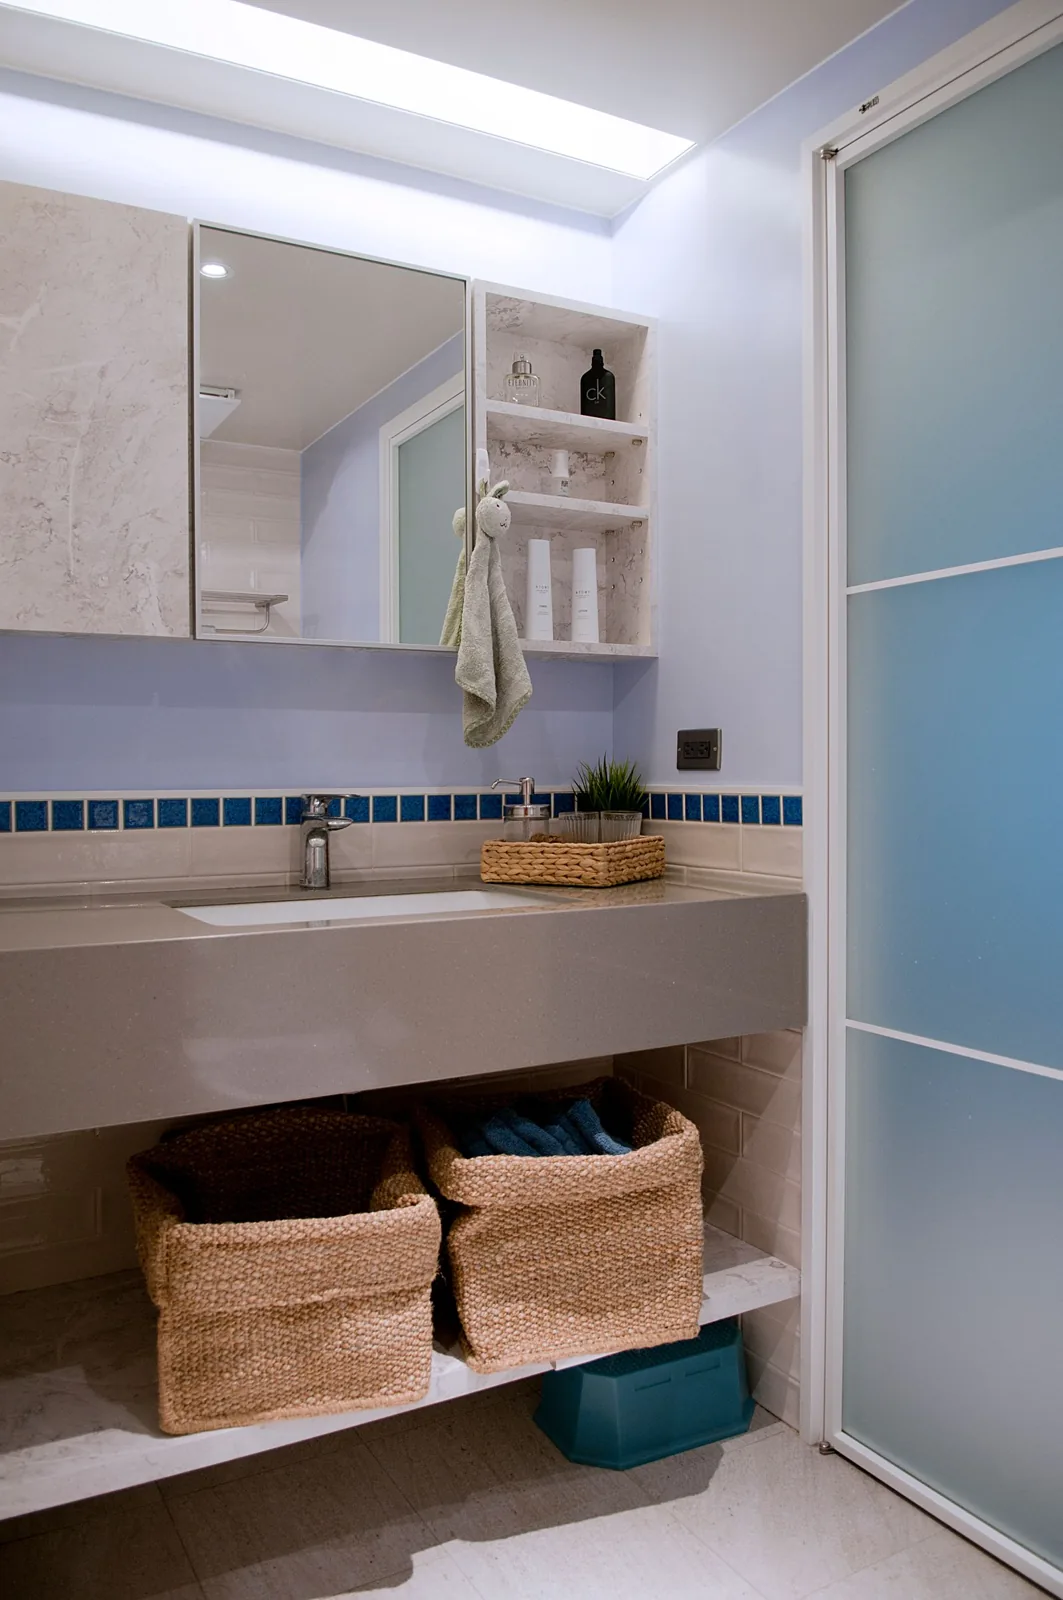
A bathroom cabinet becomes easier to use when daily supplies, refills, and occasional items stop competing for the same space. Begin by checking which possessions actually belong in the bathroom. Then arrange the suitable items around a normal routine, rather than the number of containers you can fit inside.
Start with suitability, not with decanting
Read the storage instructions on the actual products before assigning them to a bathroom cabinet. Keep required packaging, labels, dates, warnings, and any protective closures intact. A matching jar is not automatically an appropriate substitute. This guide does not decide where medicines, chemicals, or other sensitive products can safely be stored; follow their instructions and obtain appropriate advice where needed.
Separate products that should not occupy this location and choose a suitable destination for them before continuing. Check household access needs, including children and pets, rather than assuming that a high shelf or ordinary cupboard door provides secure storage. Decorative organization should not obscure safety information or create confidence that the furniture has protective features it does not actually have.
Describe one routine from beginning to end
List the suitable items used in a normal activity, such as getting ready at the basin. Notice the order in which you reach for them and what must happen afterward. A frequently used item may need a convenient compartment, while an unopened refill does not need the same prime position. Keep personal allocations clear when the cabinet is shared.
IKEA's bathroom guides use visible organizers and grouped supplies to support retrieval. Apply that principle with your actual routine rather than adopting every illustrated accessory. A small removable group may be easier to use than several tightly packed permanent compartments. The important question is whether the person using the items can find and return them without rearranging someone else's supplies.
A simple shared allocation can name the person or the task, rather than the brand of product currently occupying a compartment. That keeps the destination understandable when a bottle changes. Ask users which naming method is easiest for them to recognize before attaching permanent labels.
Measure around the real obstructions
Measure the internal storage space and note hinges, drawer mechanisms, pipes, or other features that restrict placement. Check the product instructions for the cabinet and any proposed accessory. An external width measurement cannot establish the usable space within a drawer, and an attractive organizer may collide with a fitting when the drawer closes.
Keep service access and required clearances available. Do not modify plumbing, cabinet structure, electrical equipment, or ventilation to make a storage idea fit. Where the existing furniture is damaged, leaking, or unsuitable, address that problem through the appropriate responsible person before adding containers. An organizing session can identify a practical issue, but it is not a substitute for repairing the underlying defect.
Create a daily area and a refill area
Give regularly used suitable supplies the most convenient positions. Keep refills together where you can see what is already available before buying more. There is no need for a complex quantity system: an intelligible grouping may be enough. If products have different users or instructions, avoid combining them in a way that loses their identity.
Choose any containers for their real jobs. A transparent organizer can aid visibility, while an open tray can make a suitable group removable. Neither guarantees clean contents or a dry environment. Check the materials, care requirements, and actual conditions inside the cabinet. Keep products upright or otherwise positioned as their instructions require, and avoid filling a compartment so tightly that removing one item disturbs everything else.
Keep the return and cleaning paths simple
After the routine, test whether items can return to their destinations with minimal handling. If a lid, deep compartment, or crowded shelf makes that awkward, change the arrangement before adding more labels. A storage system that works only when every bottle faces exactly forward may be too demanding for ordinary use in a shared bathroom.
Make sure appropriate cabinet cleaning and inspection remain possible. Remove suitable portable organizers as needed and follow the instructions for each surface. Do not mix cleaning products or transfer them into unmarked containers. If considering hooks, suction accessories, or adhesive storage, confirm surface compatibility, load limits, and installation instructions; no-drill does not mean every placement is suitable or that removal is guaranteed to leave no damage.
Review what actually collects outside the cabinet
Watch the basin edge and nearby surfaces after normal use. An item repeatedly left outside may be inconvenient to return, may not fit, or may need a different suitable location. Ask the person using it before moving their belongings or deciding that the system has been ignored. A precise observation leads to a more useful adjustment than repeatedly clearing the surface.
The refill hidden behind the plumbing
Picture a cabinet where daily supplies occupy the front and a refill sits behind the pipework. Trace taking out the daily item, noticing it needs replacement and finding the refill without emptying other groups. If the pipe prevents a box from sliding out, choose a different suitable location before adding organizers. Preserve the refill's label and storage directions; a matching unmarked bottle would remove information. End by returning the ordinary items and checking that the cabinet can still be maintained. The test concerns access and identification, rather than a promised hygiene result.